Hostinger is one of the most popular web hosting platforms in India in 2026, and for good reason. It is affordable, fast, and makes the process of installing WordPress incredibly simple. If you have just purchased a Hostinger plan and want to get your website up and running, this guide on how to install WordPress on Hostinger India will walk you through every single step from account setup to logging in to your new WordPress dashboard for the first time.
The entire process takes around 10 to 15 minutes, and no technical knowledge is required.
Step 1: Sign Up for Hostinger and Choose a Plan
Head over to Hostinger’s website and pick a hosting plan. For a new blog or small business website in India, the Single Shared Hosting or Premium Shared Hosting plan is more than enough to start with. Both include free SSL, a free CDN, and the one-click WordPress auto installer.
If you are planning to run a WordPress blog seriously for the long term, the Premium plan is worth the small price difference. It allows you to host multiple websites, comes with more storage space, and includes a free domain name for the first year.
During checkout, select your billing cycle carefully. Longer cycles give you a much better per-month rate. Pay using a credit or debit card, UPI, or net banking. You will receive a confirmation email with your account login details shortly after.
Step 2: Register or Connect Your Domain Name
If your Hostinger plan includes a free domain, claim it during the onboarding flow right after signup. Type the domain name you want into the search bar and check if it is available. Once you find one you like, select it and it will be added to your account at no extra charge for the first year.
If you already have a domain registered with another provider such as BigRock, Namecheap, or GoDaddy, you will need to point it to Hostinger’s nameservers. Log in to your hPanel after purchase and you will find Hostinger’s nameserver details in the domain settings. Go to your domain registrar, navigate to the nameserver section, and replace the existing values with Hostinger’s. The change typically takes a few hours and can take up to 24 hours to fully propagate.
Step 3: Log In to Your Hostinger hPanel
Once your account is set up, go to hpanel.hostinger.com and log in with your email and password. This is Hostinger’s custom control panel, built to be simpler and faster than the traditional cPanel interface used by older hosting providers.
From the hPanel home screen, you will see your hosting plan and any domains linked to it. Click Manage next to your hosting plan to enter the full dashboard. This is where you will find the auto installer, file manager, database tools, and everything else you need to manage your hosting account.
Step 4: Run the WordPress Auto Installer
Inside your hPanel dashboard, navigate to the Website section and click on Auto Installer. In newer versions of hPanel, you may also see a direct WordPress setup option right on the main dashboard screen. Hostinger has prioritised WordPress setup in recent updates because the majority of their users are running WordPress sites.
Click on the WordPress icon to begin. You will be prompted to fill in a few key details:
- Website URL: Select your domain from the dropdown. Make sure you choose the correct domain if you have multiple linked to your account.
- Administrator username: Pick something unique. Never use “admin” as it is one of the first things hackers try when attempting to access WordPress sites.
- Administrator password: Use a strong password that combines uppercase and lowercase letters, numbers, and a symbol. Save it somewhere safe.
- Administrator email: Enter your email address. WordPress sends notifications, update alerts, and password reset links to this address.
- Website title: Enter your site or blog name. You can change this at any time from within WordPress.
- Language: Select English or your preferred language.
Once you have filled everything in, click Install. Hostinger will complete the WordPress installation in under a minute and show you a success screen with links to your site and your admin panel.
Step 5: Log In to Your WordPress Admin Dashboard
After the installation is complete, you will see a direct link to your WordPress admin area. It will follow the format yourwebsite.com/wp-admin. Open that link in your browser, enter the username and password you set during installation, and click Log In.
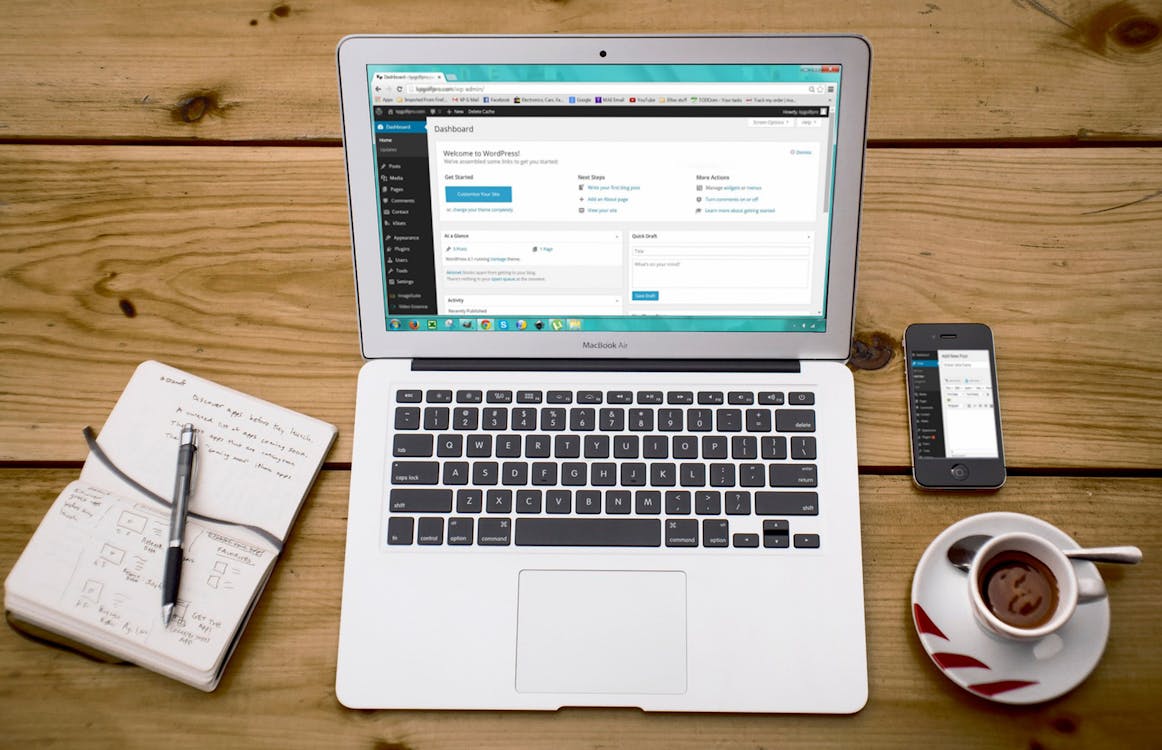
You are now inside your WordPress dashboard. This is where everything happens: writing posts, managing pages, installing plugins, choosing your design, and monitoring your site’s performance.
Bookmark the wp-admin URL so you can get back to it quickly. If you ever forget your password, use the Lost your password link on the login screen and WordPress will send a reset link to your administrator email.
Step 6: Configure Your First WordPress Settings
Before you start adding content, take five minutes to set up three important settings that will save you headaches later.
Site title and tagline: Go to Settings, then General. Confirm your site title is correct and add a short tagline describing what your site is about. This appears in browser tabs and is picked up by search engines.
Permalink structure: Go to Settings, then Permalinks. Select Post name and save changes. This gives your content clean, readable URLs like yoursite.com/post-title rather than yoursite.com/?p=123. Clean URLs are better for SEO and easier for people to share and remember.
Timezone: Back in Settings and General, set your timezone to Asia/Kolkata. This ensures all your posts are timestamped and scheduled in Indian Standard Time, which matters if you are planning a publishing calendar.
Step 7: Install the Astra Theme
WordPress comes pre-installed with a basic default theme. For a blog or small business website in India, the Astra theme is a much better starting point.
Go to Appearance, then Themes, then click Add New. Search for Astra and click Install, then Activate. Astra loads in under 50KB, which means it contributes almost nothing to your page load time. It scores well on Google’s Core Web Vitals and has a library of professionally designed starter templates that you can import and customise with one click.
Once Astra is activated, go to Appearance and then Astra Options to explore the starter templates. Pick one that is closest to the style you want and import it. You can then replace the placeholder content with your own.
Step 8: Install Yoast SEO Plugin
The final essential step before you start publishing is installing an SEO plugin. Without one, your content is missing key on-page optimisation that Google looks for when deciding how to rank your pages.
Go to Plugins, then Add New. Search for Yoast SEO and click Install Now, then Activate. After activation, Yoast will guide you through a short setup wizard. It will ask you a few questions about your site type, whether it is a blog or business, and whether you want to appear in search results as an individual or a company. Answer these and let the wizard finish.
One of the most important things Yoast does during setup is create an XML sitemap for your site automatically. This file tells Google about all the pages on your website. Submit the sitemap URL (typically yoursite.com/sitemap_index.xml) to Google Search Console to help Google discover and index your content faster.
Your WordPress Site on Hostinger Is Live
That is it. You now have a fully working WordPress website running on Hostinger, with the right permalink structure, a fast theme, and an SEO plugin ready to go. The technical foundation is solid. What comes next is the part that actually builds your audience: writing consistently, publishing useful content, and building your presence over time.
If you need help with the next steps such as designing your site, setting up Google Analytics, or planning a content calendar, reach out to us here. We help Indian website owners and bloggers build clean, fast, well-optimised sites from day one.